BlockNative Ctrl (fka XDEFI) Integration
In this tutorial we're going to build dApp which supports multiple wallets using the Web3-Onboard library.

Get started
Create new react app
npx create-react-app my-blocknative-app --template typescriptIt's always good idea to start explore something new with fresh and pristine codebase to make sure that exploration subject does not interferes with your existing codebase.
I Install web3-onboard core and react packages.
yarn add @web3-onboard/core @web3-onboard/reactWe'll be using
@web3-onboard/reactwhich provides some fancy react hooks on top of core package,
Install wallet providers
yarn add @web3-onboard/xdefi @web3-onboard/injected-wallets @web3-onboard/walletconnectWe'll be using
@web3-onboard/xdefipackage and packages for fallback wallets:@web3-onboard/walletconnectand@web3-onboard/injected-wallets
Setting up Web3Onboard provider
First, we need to configure our Web3Onboard. Let's make Web3Onboard configuration function and complete it step by step
import { init } from "@web3-onboard/react";

export function configureWeb3Onboard() {
  const web3Onboard = init({
    wallets: [],
    chains: [],
    theme: "dark",
    appMetadata: {
      name: "My App",
      description: "My App with Web3Onboard",
      recommendedInjectedWallets: [{ name: "XDEFI", url: "https://xdefi.io" }],
    },
  });

  return web3Onboard;
}
Now we have our configuration function, but it does not do much yet. Let's provide some wallets
import { init } from "@web3-onboard/react";
import xdefiWalletModule from "@web3-onboard/xdefi";
import walletConnectModule from "@web3-onboard/walletconnect";
import injectedModule from "@web3-onboard/injected-wallets";

export function configureWeb3Onboard() {

  const wallets =
  const web3Onboard = init({
    wallets:[
    xdefiWalletModule(),
    walletConnectModule({ projectId: "YOUR_PROJECT_ID" }),
    injectedModule(),
  ];
    chains: [],
    theme: "dark",
    appMetadata: {
      name: "My App",
      description: "My App with Web3Onboard",
      recommendedInjectedWallets: [{ name: "XDEFI", url: "https://xdefi.io" }],
    },
  });

  return web3Onboard;
}
and add supported chains
export function configureWeb3Onboard(chains = defaultChainsList) {
  const wallets = [
    xdefiWalletModule(),
    walletConnectModule({ projectId: "YOUR_PROJECT_ID" }),
    injectedModule(),
  ];
  const web3Onboard = init({
    wallets,
    chains: export function configureWeb3Onboard() {
  const web3Onboard = init({
    wallets: [
      xdefiWalletModule(),
      walletConnectModule({ projectId: "YOUR_PROJECT_ID" }),
      injectedModule(),
    ],
    chains: [
      {
        id: "0x1",
        token: "ETH",
        label: "Ethereum",
        rpcUrl: "https://ethereum-rpc.publicnode.com",
      },
      {
        id: "0x2105",
        token: "ETH",
        label: "Base",
        rpcUrl: "https://mainnet.base.org",
      },
      {
        id: "0x89",
        token: "MATIC",
        label: "Polygon",
        rpcUrl: "https://matic-mainnet.chainstacklabs.com",
      },
    ],
    theme: "dark",
    appMetadata: {
      name: "My App",
      description: "My App with Web3Onboard",
      recommendedInjectedWallets: [{ name: "XDEFI", url: "https://xdefi.io" }],
    },
  });

  return web3Onboard;
},
    theme: "dark",
    appMetadata: {
      name: "My App",
      description: "My App with Web3Onboard",
      recommendedInjectedWallets: [{ name: "XDEFI", url: "https://xdefi.io" }],
    },
  });

  return web3Onboard;
}
Now, we're ready to set up Web3OnboardProvider. Open your React app enty file and wrap your app with Web3OnboardProvider like on sample below
import React from "react";
import ReactDOM from "react-dom/client";
import "./index.css";
import App from "./App";
import { Web3OnboardProvider } from "@web3-onboard/react";
import { configureWeb3Onboard } from "./configureWeb3Onboard";

const root = ReactDOM.createRoot(
  document.getElementById("root") as HTMLElement
);

root.render(
  <React.StrictMode>
    <Web3OnboardProvider web3Onboard={configureWeb3Onboard()}>
      <App />
    </Web3OnboardProvider>
  </React.StrictMode>
);
At this point we're done with Web3OnboardProvider setup and finally can start implement our app!
Connect and disconnect wallet buttons
At this step we will try to achieve following result:
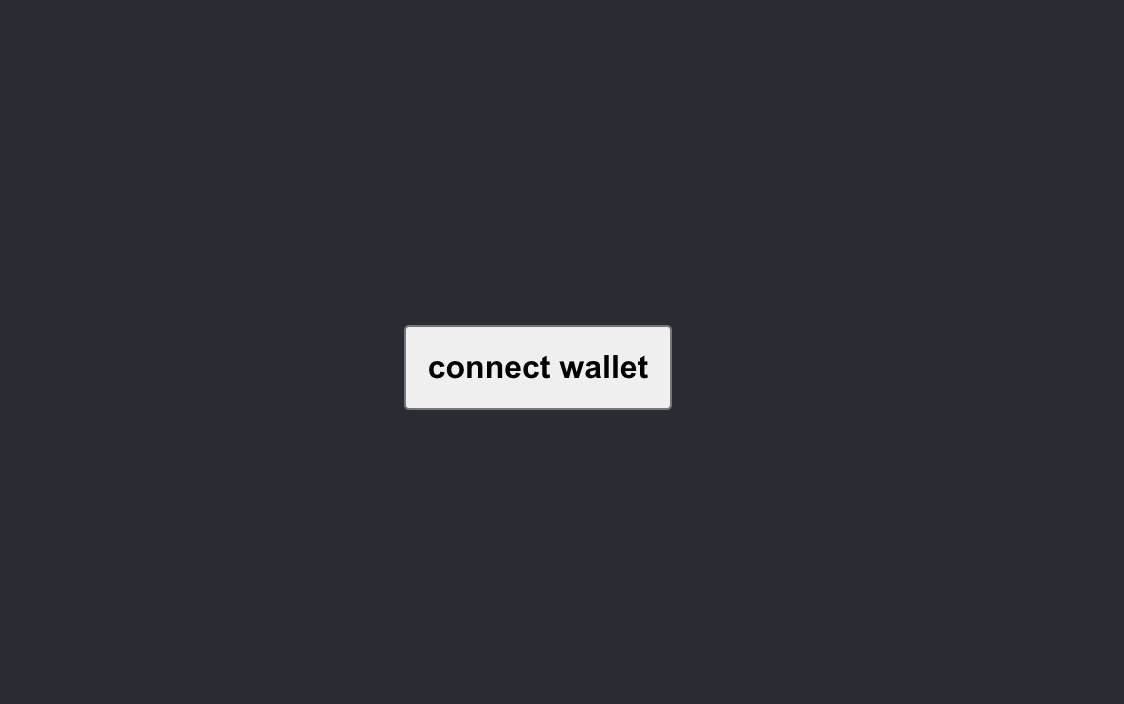
Show connect wallet button if there is no connected wallet yet

Our fancy "connect wallet" button
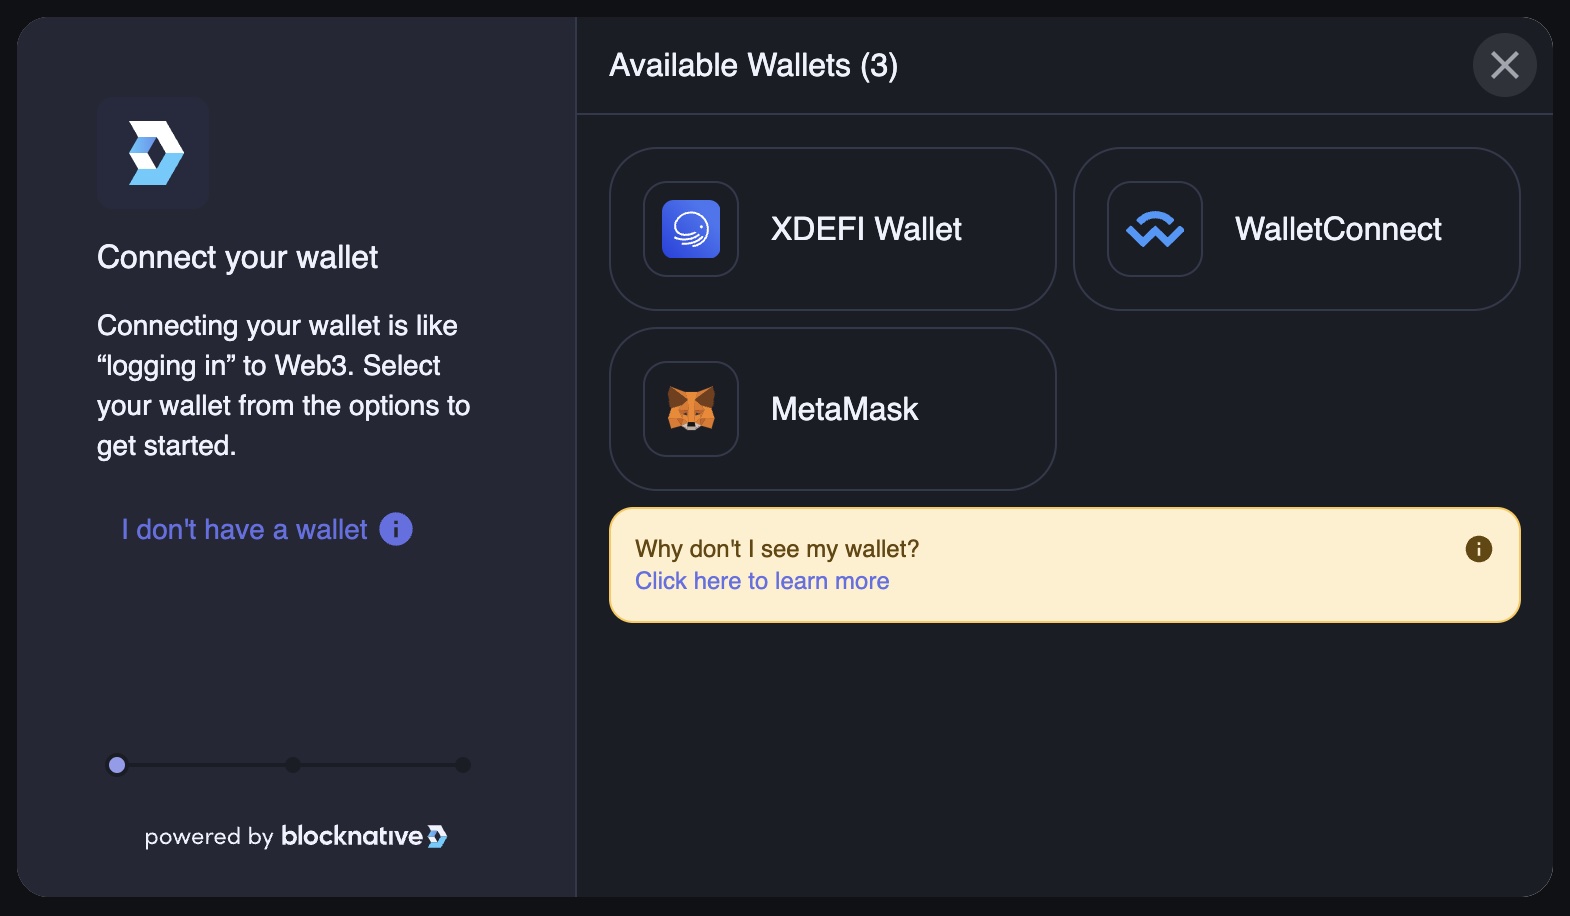
Show Web3Onboard connect wallet modal on "connect wallet" button press

Web3Onboard connect wallet modal
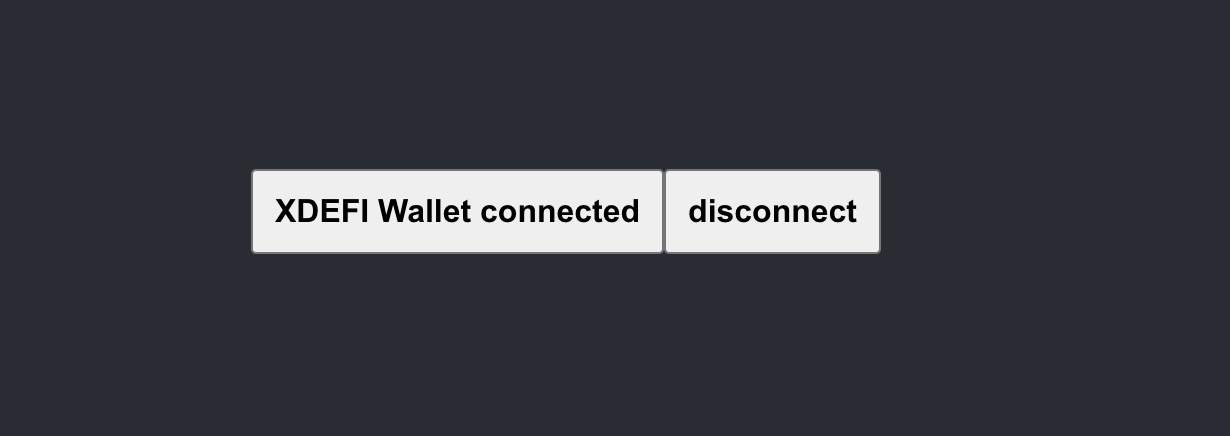
Show disconnect button once we have some wallet connected

Connected wallet state
Let's proceed with implementation. Here it is:
import { useConnectWallet } from "@web3-onboard/react";
import "./App.css";
import { useCallback } from "react";

function App() {
  const [{ wallet, connecting }, connectWallet, disconnectWallet] =
    useConnectWallet();

  const disconnect = useCallback(async () => {
    if (wallet) {
      await disconnectWallet({ label: wallet.label });
    }
  }, [wallet, disconnectWallet]);
  const walletConnected = Boolean(wallet);

  return (
    <div className="App">
      <div className="App-container">
        <section>
          <button disabled={connecting} onClick={() => connectWallet()}>
            {walletConnected
              ? `${wallet?.label} connected`
              : connecting
              ? "connecting"
              : "connect wallet"}
          </button>
          {walletConnected ? (
            <button onClick={disconnect}>disconnect</button>
          ) : null}
        </section>
      </div>
    </div>
  );
}
export default App;
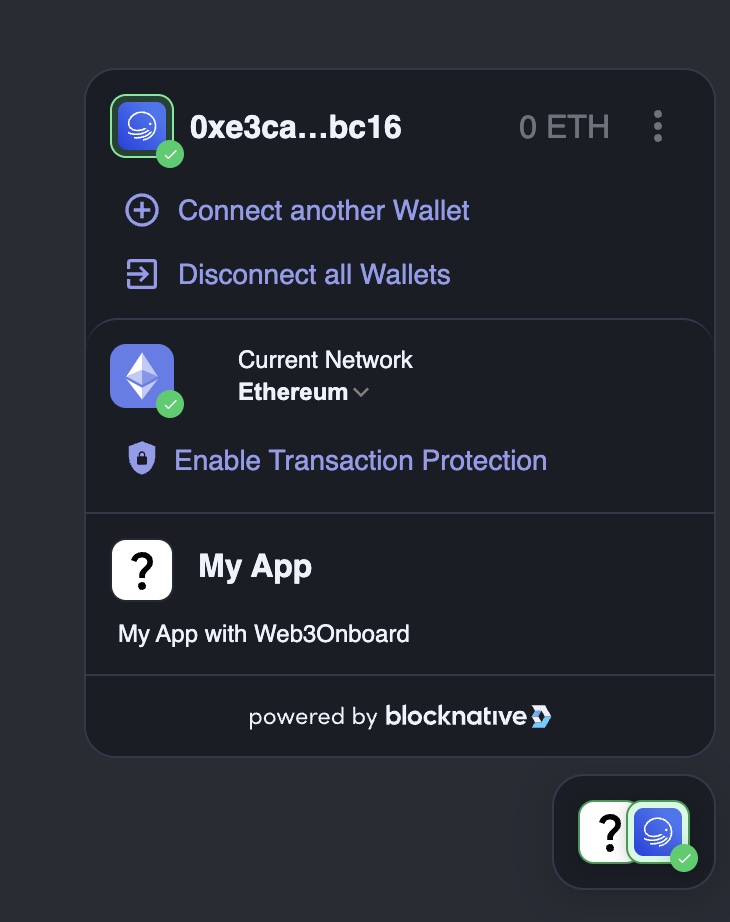
Once wallet connected, you must see Blocknative conrol center at the bottom right corner  If you don't need it, you can disable it on Web3Onboard configuration step.
const web3Onboard = init({
  accountCenter: {
    mobile: {
      enabled: false,
    },
    desktop: {
      enabled: false,
    },
  },
  ...restOfTheConfig,
});
For more detailed information on Account center please visit Web3Onboard docs for core library and for React
Show connected chain, address and balance
useConnectWallet hook exposes a wallet object of type WalletState which represents connected wallet state.
Here are some typings which are briefly describe what info we can get from WalletState just by taking a quick look
interface WalletState {
  label: string;
  icon: string;
  provider: EIP1193Provider;
  accounts: Account[];
  chains: ConnectedChain[];
  instance?: unknown;
}
type Account = {
  address: Address;
  ens: Ens | null;
  uns: Uns | null;
  balance: Balances | null;
  secondaryTokens?: SecondaryTokenBalances[] | null;
};
type Balances = Record<TokenSymbol, string> | null;
type ConnectedChain = {
  id: Chain["id"];
  namespace: Chain["namespace"];
};
Some types omited for brevity. Refer to Web3Onboarding documentation for full info.
Taking a brief look shows that we can get all we need: connected chain, account address and current balance. Let's show that info!
{
  walletConnected ? (
    <section>
      <section>Network Chain ID: {wallet?.chains?.[0].id}</section>
      <section>Account Address: {wallet?.accounts?.[0].address}</section>
      <section>
        <div>Balance:</div>

        {Object.keys(wallet?.accounts?.[0].balance || {}).map((tokenSymbol) => (
          <div>
            {wallet?.accounts?.[0].balance?.[tokenSymbol]} {tokenSymbol}
          </div>
        ))}
      </section>
    </section>
  ) : null;
}
And here is the result 
Our UI already looks nice. But it will be your homework to make it look gorgeous